Hello friends!
First I would like to thank you all for your lovely comments about my work, both here and on my FB profile. You guys are the best!
But I don’t want to keep you waiting, so to announce the winner of my giveaway:
all of the names went into this lovely little bowl that I made and I will explain that to you also (later) 🙂

then my husband randomly chose one

and it was

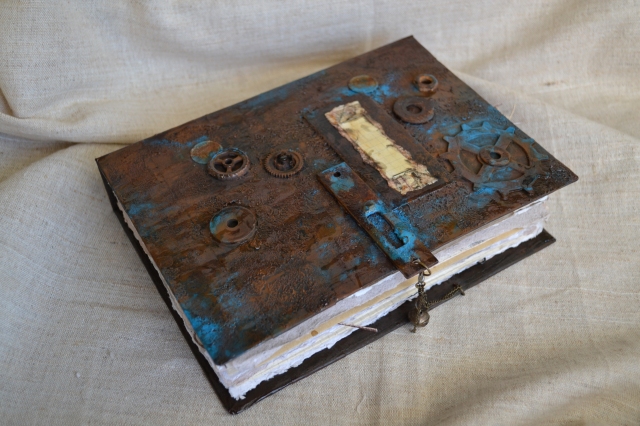
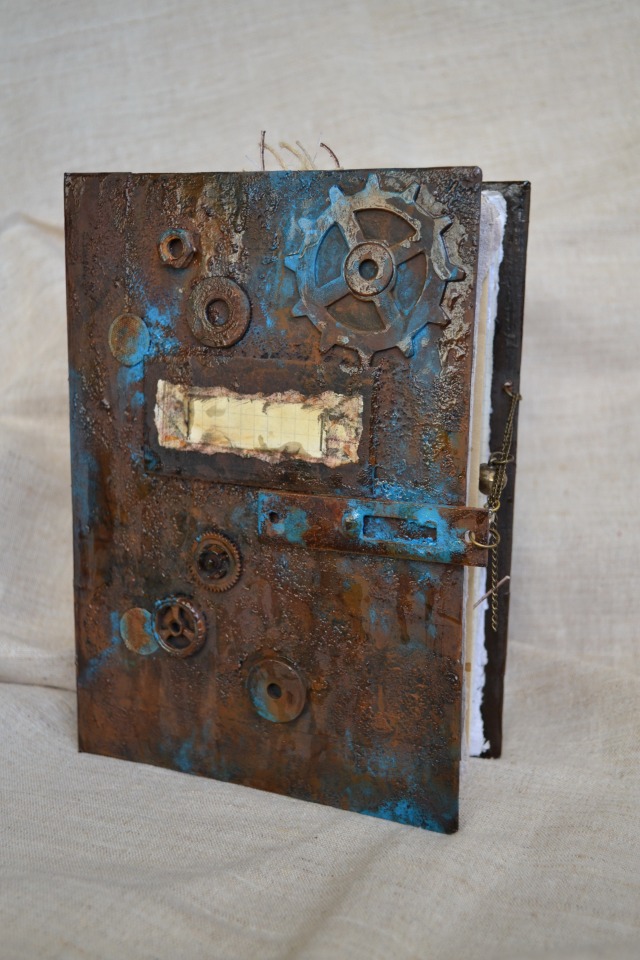
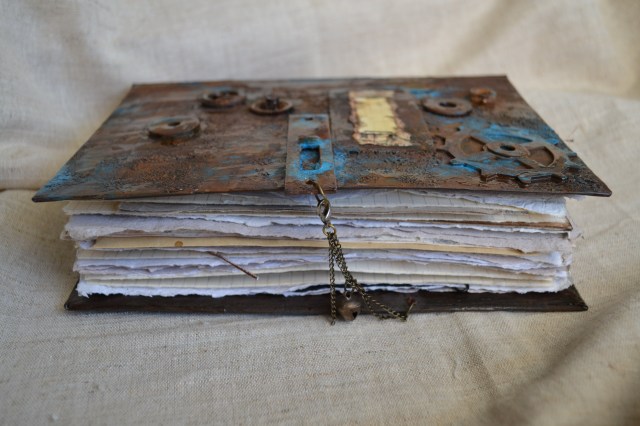
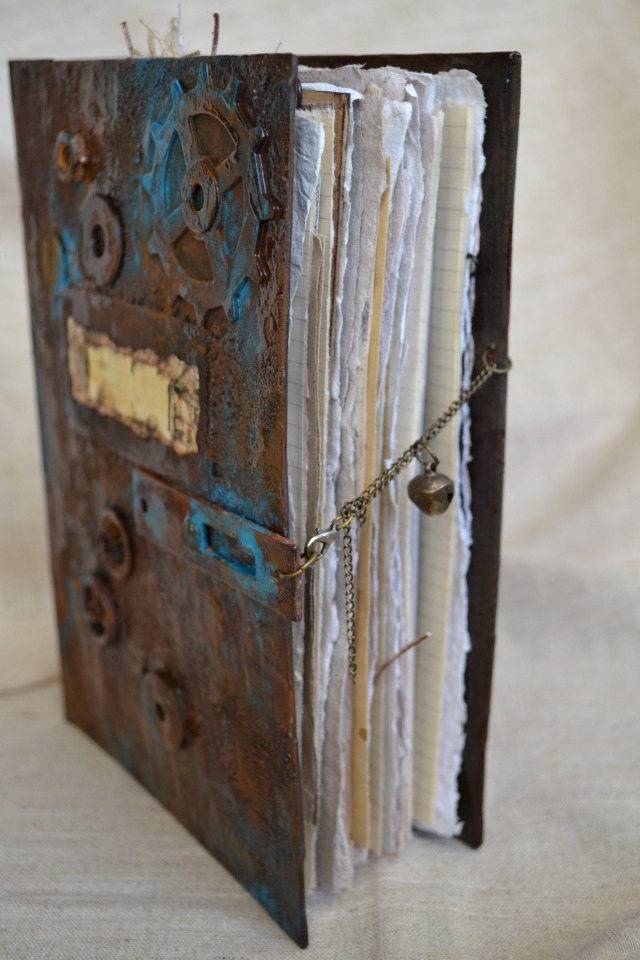
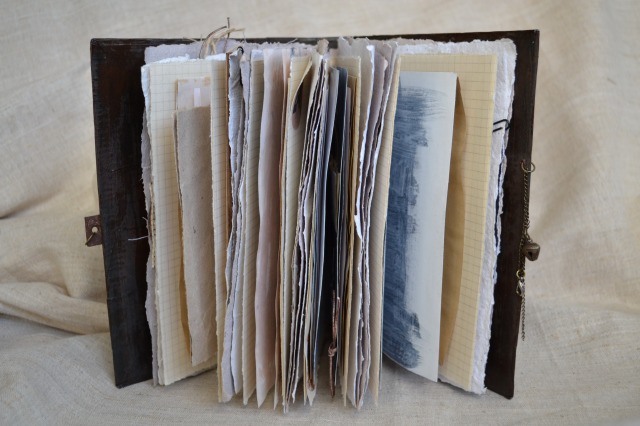
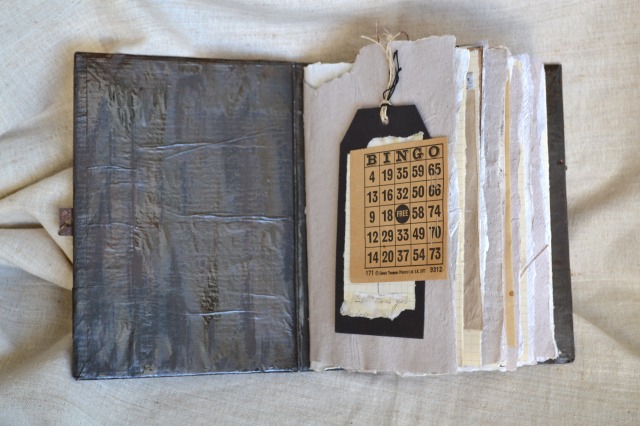
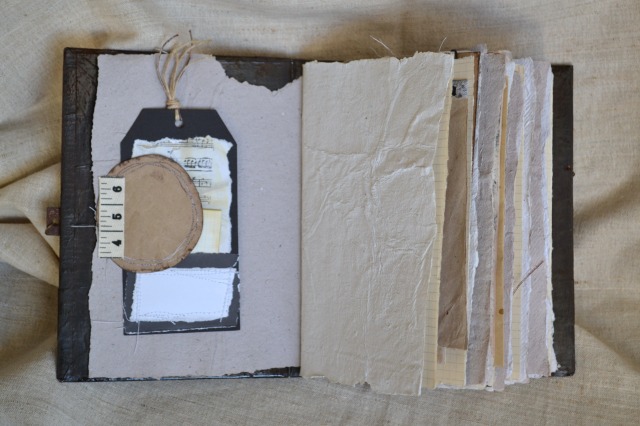
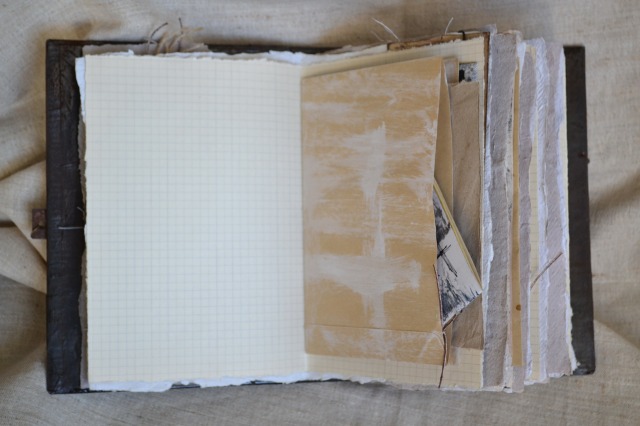
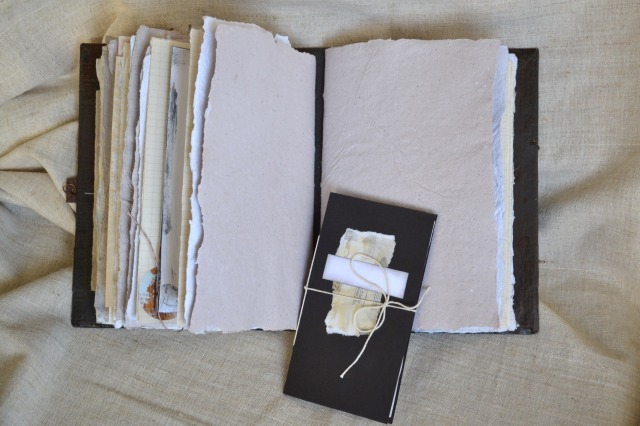
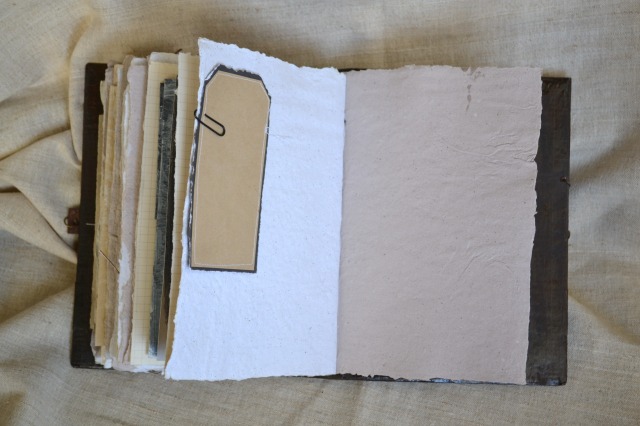
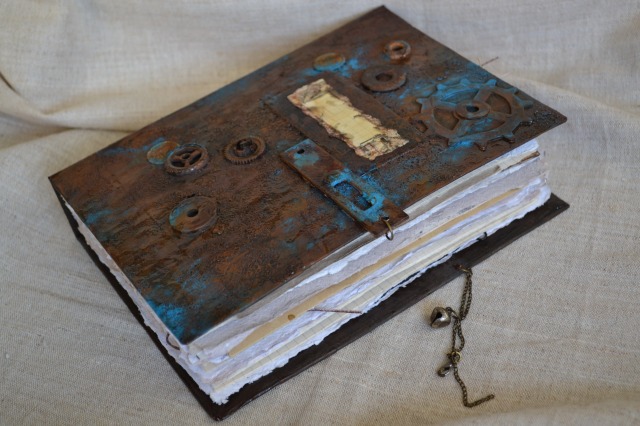
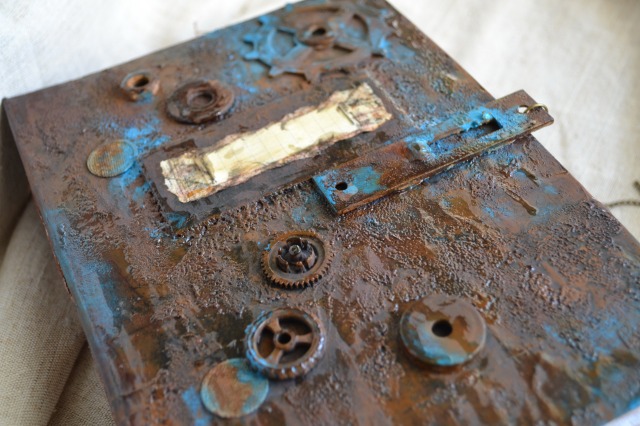
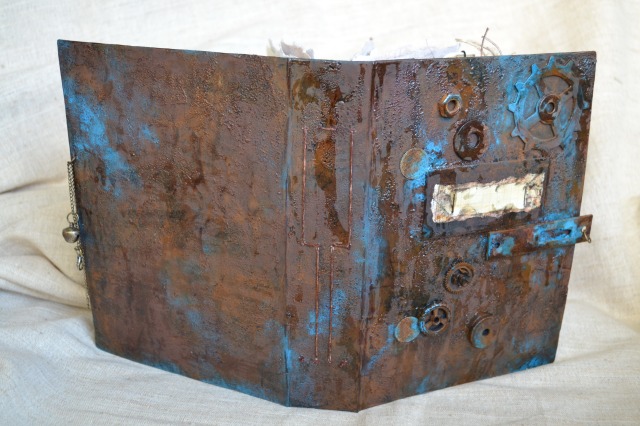
Congratulations Julka! 🙂 Please email me your address and I will send the journal to you. Yay!
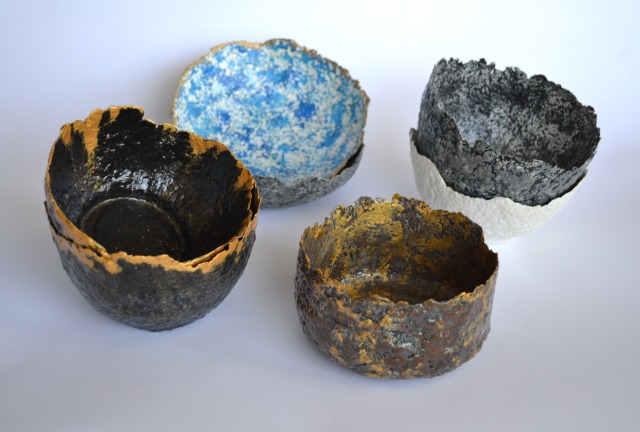
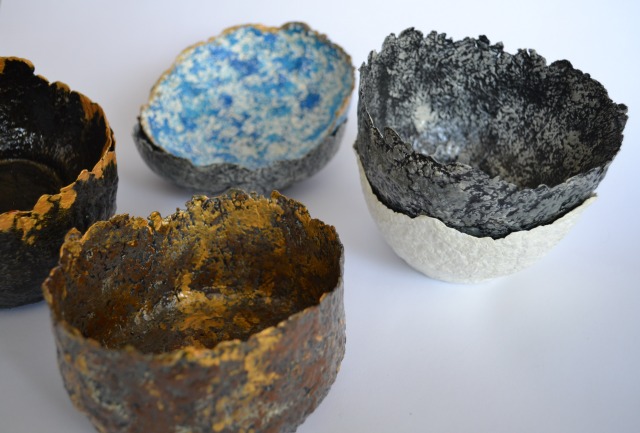
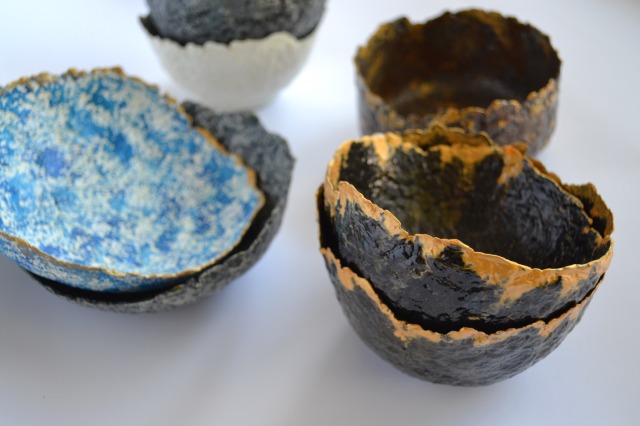
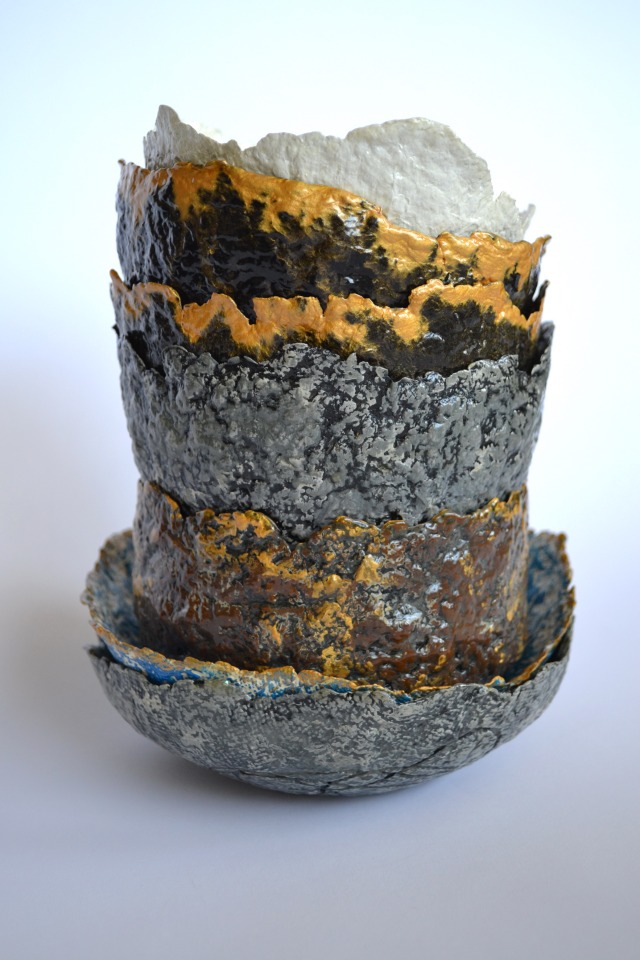
So, about the bowl. You know how I love to recycle. Actually, with the years passing, more and more of my work is inspired (at least partially) by recycling. Our planet is suffering. We are polluting it and destroying it and I feel horrible knowing that I am part of that. Well, some things are almost impossible to avoid, like using AC or buying products that contribute to pollution because there is no product in the grocery store that in some way does not contribute to pollution. But I try to do as much as I can to minimize that. And one of the ways is to recycle as much as possible.
We all get junk mail, receipts of all kinds, bills etc. And I have already shown you my handmade papers (which I love). 🙂 So as with making paper from newspapers and junk mail, you start with tearing them into small bits and soaking them in water for at least several hours but preferably over night.

After that, you put them in the food processor and blend them.

Then take a sieve or colander and if the holes are a bit big, add some thin fabric or a cloth or what ever you have on hand, and strain the mixture.

You don’t want it to be too dry but also it shouldn’t be too wet. I know it sounds like crap when I say it like that, but there is no way for me to explain it better. The thing is, you will know if it’s dry enough because if it is too wet than you won’t be able to stick it to the bowl. And if it’s too dry, you will have hard time shaping it over your mold.
Here is mine nicely stuck to the bowl, which serves as a mold for my paper bowl.

As you can probably see, I covered the bowl with plastic wrap before putting my paper over it. Oh! I almost forgot to mention! You should add a little bit of glue to the paper paste after draining the water. For example, I would add about a tea spoon of glue to every cup of paper paste. But you could add more or less, I don’t have a recipe for that. In fact, it would probably be good to check out on Youtube how people do that, more professionally, but I was just playing and having fun.
Anyway, that’s how I did it, and I pressed it pretty well that paste.
After it is a bit dry, but not completely, which you will also be able to see because if it’s not dry enough it won’t be able to come off that bowl in one piece, you can take it off and put it somewhere to dry completely.


Unfortunately, I don’t have photos of my bowls right now, but I will photograph them and show them to you in the next post. Hopefully this was enough explanation on how to make them, or at least to try and just have fun making a mess. 🙂 But you can make some really beautiful bowls this way, and after adding paint and varnish to them, they make lovely decorative pieces and also great gifts. Especially if you fill them with sweets! 🙂
Have a great day / night everyone!